
From the side view create a plane with the Polygon Plane button.

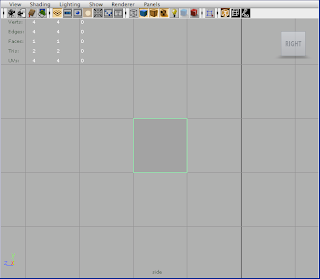
Right-click on the plane and switch to vertex mode to begin positioning the plane.
Position the vertices until you have a long narrow shape somewhat like the one in the image (don't be to worried about the shape now, it will become more defined as you get more geometry).
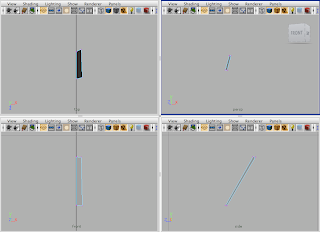
Using the Insert Edge Loop tool, insert two edge loops in the polygon.

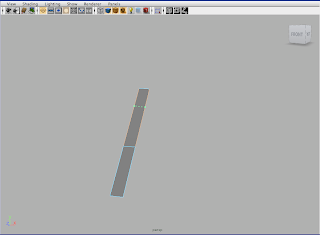
Right click on the mesh and switch to edge mode. Select the outer 4 edges on the right-hand side of the mesh and use the extrude tool to pull out new geometry.
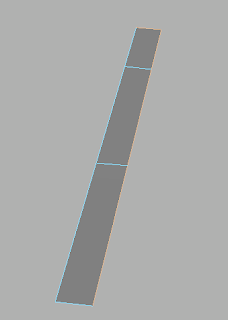

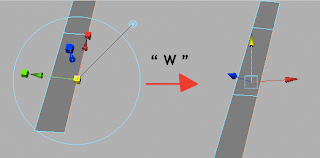
Switch to move with the "W" key and pull the geometry out.
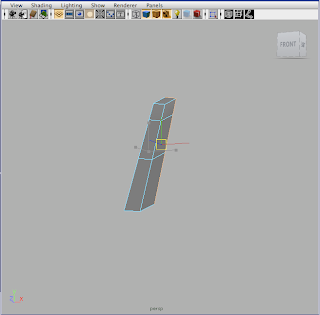
Sculpt the vertices a little to shape the nose.
Next, select the two edges on the side of the nose and extrude these out.
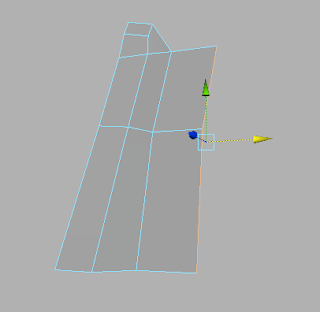
Move these new vertices where you would like and then extrude each of the side edges individually. (If you have them both selected they will be connected, we don't want this).
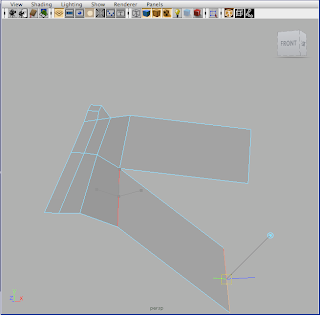
What we've created is the bridge of the nose and coming out from the side we have the upper and lower cheek. From here, sculpt your vertices and we'll create a polygon loop around the face.
Extrude two more sections from the ends of the upper and lower cheek geometry.
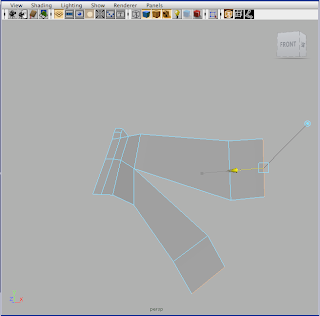
These will start our face loop, from the bottom of the top cheek extrusion extrude one more face to connect to the lower cheek.
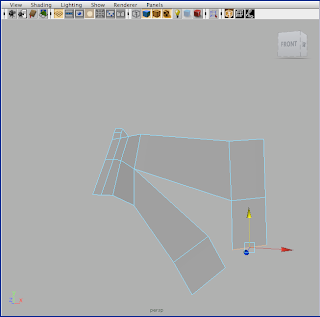
Switch to vertex mode and select the bottom two vertices of this new face one at a time and using the move tool ("W") hold "V" to snap them to the vertex on the lower cheek extrusion.
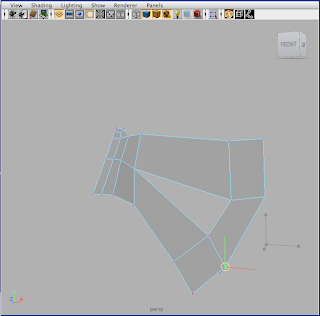
This is the beginning of the loop around the face, from here we are going to make one extrusion from the lower cheek to go around the mouth area, and two extrusions for the forehead.
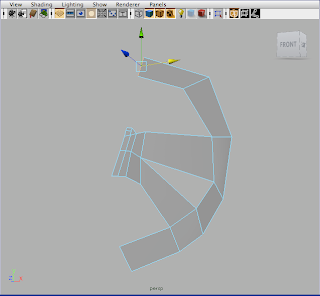
Now shape up the vertices, and lets take a look at 4-view to see how this should look from different angles.
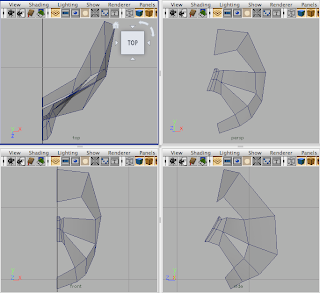
If you snap your vertices to the Y-Z plane then it will be easy to mirror the face after building half of it. To snap a vertex to a point on the grid, use one of the orthographic views (front/side/top) and using the move tool ("W") hold down the "X" button to snap to grid points. (You can click on only one direction with the move tool if you only want it to snap to the Y or Z axes.)
This sets up the face with good edge flow, a loop around the face for adding detail and slots for the eyes and the mouth. In the next face patch modeling tutorial I'll go over building the eyes sockets and mouth each with their own edge loops for adding detail without affecting the overall mesh.
- Cliff


No comments:
Post a Comment